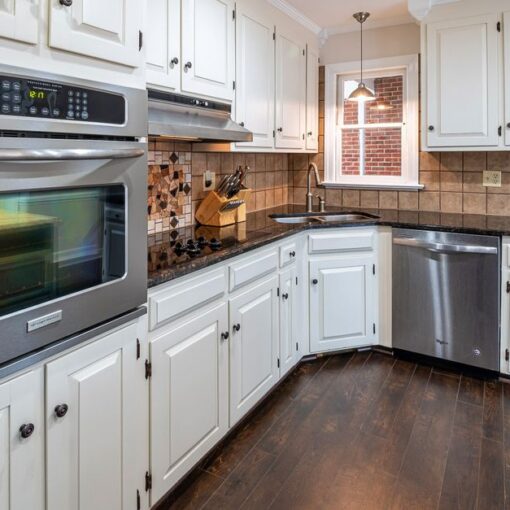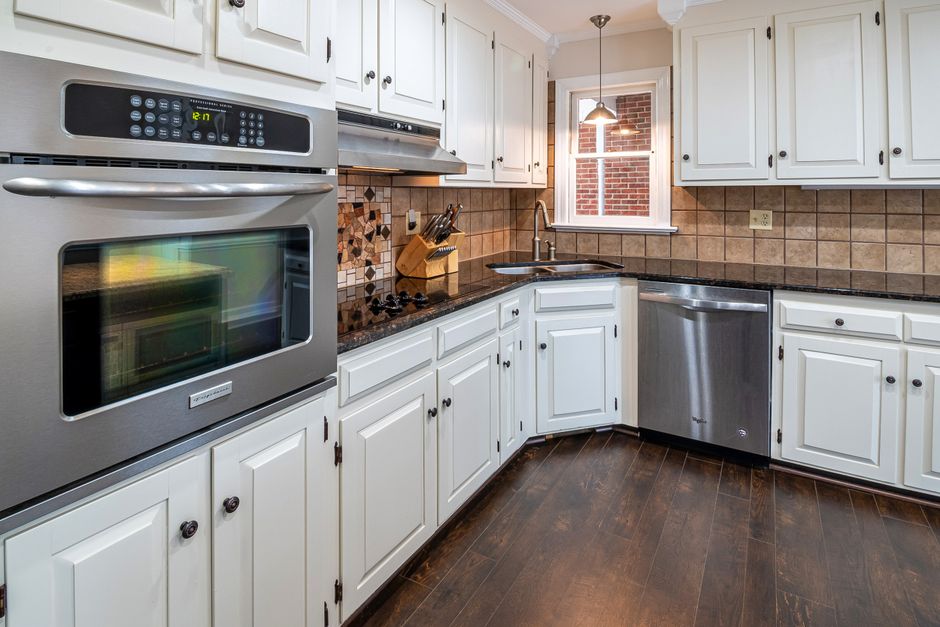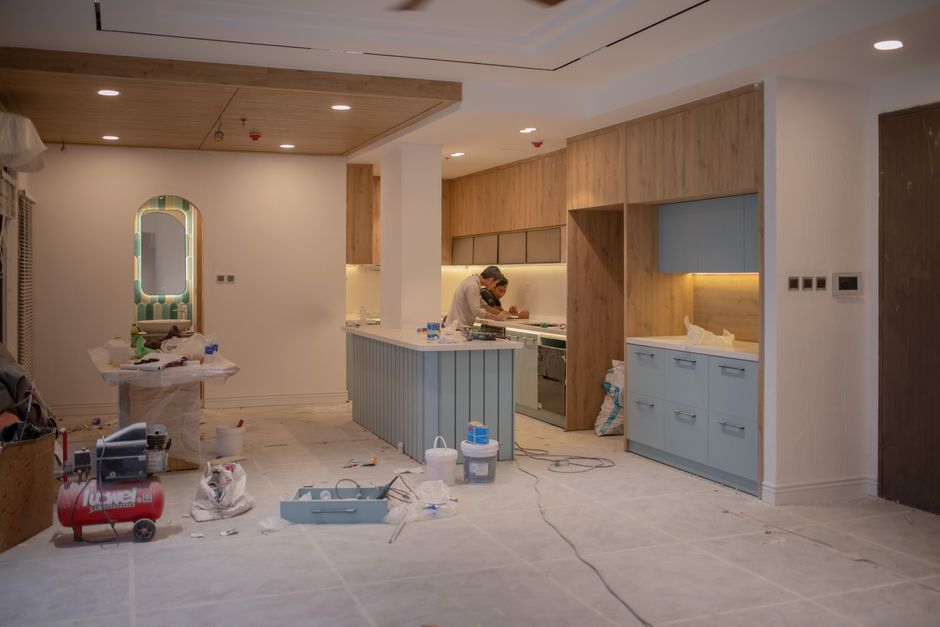
Kitchens in Roxborough and Castle Pines tend to tell a familiar story. The layout works, the boxes are solid, and the doors have simply taken a beating. Years of cooking, steam, sunlight, and scrubbing have left the finish dull, the color dated, and the edges chipped. Kitchen cabinet doors refinishing keeps the cabinetry you already own and rebuilds the surface everyone actually looks at. No demolition, no dumpster in the driveway, no kitchen that sits unusable for weeks.
PaintingCabinet.com has served this part of Colorado for over 50 years and has completed more than 1,000 kitchens. The work is done with a dustless process, finished in five days, and backed by a three-year warranty.
Refinishing, Replacing, and Refacing Are Three Different Projects
Homeowners weighing their options usually compare three paths, and they are not interchangeable. Replacing means removing the cabinet boxes entirely and installing new cabinetry, which is the largest of the three undertakings and the one that disrupts a household the most. Refacing keeps the existing boxes and gives them a new face, which is why refacing suppliers sell door fronts, panels, and related materials along with how-to videos for their products. Refinishing keeps your original doors and drawer fronts and rebuilds the finish on them.
Published guidance on cabinet refinishing describes it as an affordable way to take drab cabinets and restore their beauty and luster. That is a fair summary of why so many homeowners land here after comparing all three routes. You keep the cabinet boxes that were built for your space, and you change the part that shows.
What the Refinishing Process Actually Involves
The steps are straightforward to describe and demanding to execute well. Skipping or rushing any one of them is the main reason a refinishing job looks tired within a year. Here is how a proper sequence runs.
Step 1: Prepare the Space and Remove the Doors
Preparation comes before anything else. The work area is set up, supplies are gathered, and the doors and drawer fronts are removed so they can be handled properly. Removing them matters because a door painted while hanging on the box cannot be coated evenly on both sides, and the edges and back faces are where finishes fail first. Hardware comes off and gets set aside. From this point forward, the doors are treated as individual pieces rather than as part of a wall.
Step 2: Cleaning and Degreasing Comes Before Anything Else
Cleaning and degreasing the doors, drawer fronts, and panels is step one in the shop process, and it is a step that cannot be skipped. Kitchen surfaces collect a thin, invisible film of cooking grease that settles into every profile, corner, and grain line. If that film stays, the new finish has nothing solid to bond to, and the result is peeling, blistering, or a surface that feels tacky. When homeowners handle this at home, dish soap is a common choice because it is formulated to degrease, and the soap needs to be rinsed off completely rather than left to dry on the surface.
Step 3: Deep Sanding and Repairing Damaged Areas
Once the surface is clean, the old finish and the existing sheen have to be opened up. A proper refinishing sequence moves from cleaning and degreasing into deep sanding, then into repairing damaged areas. Dings, dents, chipped edges, and hairline cracks all get addressed at this stage, because a fresh coat of finish magnifies imperfections instead of hiding them. Any spot that is filled or sanded has to be leveled so it disappears under the final coating.
Step 4: Coating the Backs First, Then the Faces
Order matters during application. Begin by coating the back sides of the doors and laying them flat so the enamel can level out and create a smooth finish. Once those are dry, flip the doors and coat the front faces. Laying doors flat prevents runs and sags that appear when a wet panel is stood upright too soon. The same logic applies to drawer fronts and any panels that came off the boxes during removal.
DIY Refinishing Versus a Shop-Applied Factory Finish
Plenty of homeowners consider handling the work themselves, and there are good how-to resources available, including cabinet refacing and refinishing videos. The difference is rarely the intent. It is the conditions the finish cures in.
| Stage | DIY at home | Shop-applied factory finish |
|---|---|---|
| Grease removal | Handled with household degreasers, then rinsed | Handled as a dedicated first step for every door and panel |
| Sanding | Limited by space, dust control, and time | Deep sanded in a controlled shop environment |
| Application | Usually brushed or rolled in place | Sprayed and laid flat so the finish levels |
| Curing | Exposed to kitchen humidity, pets, and traffic | Cured away from cooking steam and daily use |
| Coverage | Fronts only, since backs are hard to reach | Fronts, backs, edges, and drawer fronts |
| Warranty | None | Three-year warranty |
The kitchen cabinet doors refinishing guide that homeowners watch online almost always ends with the same warning: durability comes down to preparation. A coating applied over a greasy or under-sanded surface will look good for a few months and then start to fail at the edges and corners.
Choosing a Color for a Roxborough or Castle Pines Kitchen
A refinish is also a chance to fix a color that never quite worked. Kitchens in this area often have generous natural light, which changes how a color reads compared to a paint chip under store lighting. Two practical steps help. First, look at the fixed elements that cannot change: the countertop, the flooring, and the backsplash. The cabinet color has to live alongside those permanently. Second, decide how much contrast you want between the cabinets, the walls, and the trim. A low-contrast scheme reads calm and larger. A higher-contrast scheme gives the room more definition. Ordering a sample and viewing it at different times of day settles more arguments than any online photo gallery.
A Five-Day, Dustless Timeline
The common assumption is that cabinet work means weeks of chaos. With a shop-based refinishing process, the timeline runs about five days. Doors and drawer fronts come off, the boxes get prepped and finished, and the doors are refinished and reinstalled. Because the process is dustless, the fine grit and airborne residue that normally settles on countertops, dishes, and shelves does not become part of the job. There is no demolition phase, so the sink, appliances, and flooring stay where they are.
Warranty, Experience, and What It Means for Your Kitchen
PaintingCabinet.com specializes in cabinet painting and refinishing, including factory-finish painting, refinishing, and color changes. There is no replacing and no demolition. More than 1,000 kitchens have gone through the process, and the company has been serving these areas for over 50 years. Every project carries a three-year warranty, which is the practical difference between a finish that was built to hold up and a coating that was simply applied.
Serving Roxborough, Castle Pines, and the Surrounding Communities
Roxborough and Castle Pines homeowners are served along with Parker, Highlands Ranch, and Castle Rock. That range matters for a simple reason: the climate and housing stock across these communities are similar, so the same prep routines, curing conditions, and finish systems apply. It also means crews are working nearby rather than traveling from another region, which keeps scheduling predictable.

How to Get a Free Estimate
Call 303-573-6666 for a free estimate, or submit the quote form on the website. Form submissions go to factoryfinishcabinet@gmail.com. Have a rough idea of your door and drawer front count, and a sense of the color direction you want. Photos of the current kitchen help as well, especially close-ups of any chipped edges, peeling areas, or spots where the finish has worn through. From there, you get a clear picture of what refinishing your kitchen cabinet doors involves and what the finished result will look like.
Frequently Asked Questions
Do the cabinet doors have to come off during refinishing?
Yes. Doors and drawer fronts are removed so each piece can be cleaned, sanded, and coated on both sides, including the edges. A door finished while still hanging on the box cannot be coated evenly, and the back face and edges are exactly where a finish fails first. Removal is a standard part of the process, not an optional extra.
How long does kitchen cabinet door refinishing take?
With a shop-based process, expect roughly five days from start to finish. Doors and drawer fronts come off, the boxes are prepped and finished, and the doors are refinished and reinstalled. Because no demolition or replacement is involved, the kitchen does not sit torn apart for an extended period, and the sink and appliances stay in place.
Is refinishing cabinets better than replacing them?
It depends on the condition of the cabinet boxes. If the boxes are solid and the layout works, refinishing avoids the disruption and material waste that come with demolition and new cabinetry. Cabinet refinishing is widely described as an affordable way to restore drab cabinets. If the boxes are failing, replacement may make more sense, so ask during your estimate.
How should greasy cabinet doors be cleaned before refinishing?
Degreasing is the first step and the one that cannot be skipped. Cooking grease leaves a thin film that blocks adhesion, so the new finish will lift or blister if it remains. Dish soap is a common household choice because it is formulated to degrease, but the soap must be rinsed off completely rather than left to dry on the surface.
Do refinished kitchen cabinet doors come with a warranty?
Yes. Projects completed by PaintingCabinet.com carry a three-year warranty. That coverage reflects the preparation steps behind the finish, including dedicated cleaning and degreasing, deep sanding, and repair of damaged areas before any coating goes on. Ask about warranty terms and what is covered during your free estimate so expectations are clear from the start.