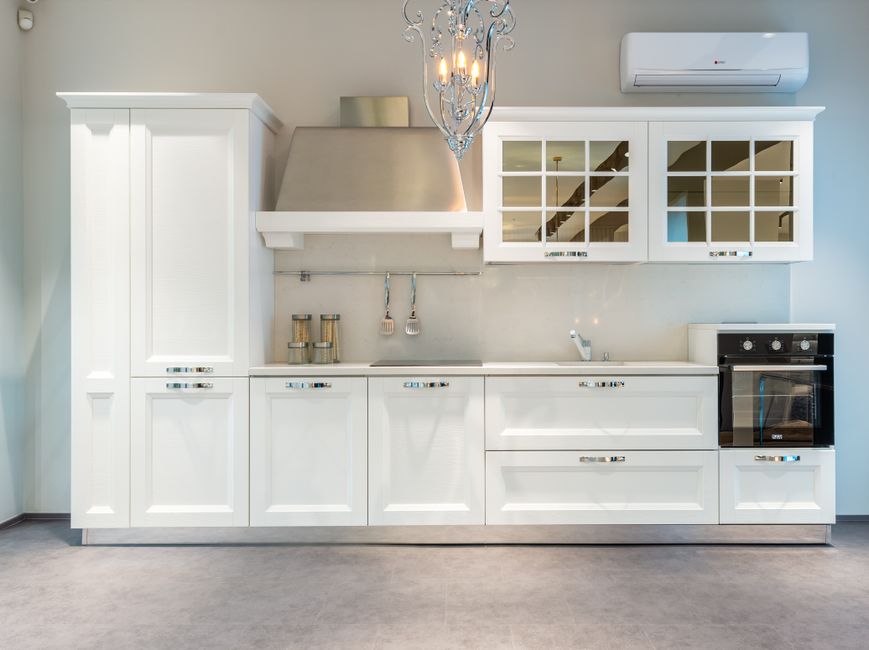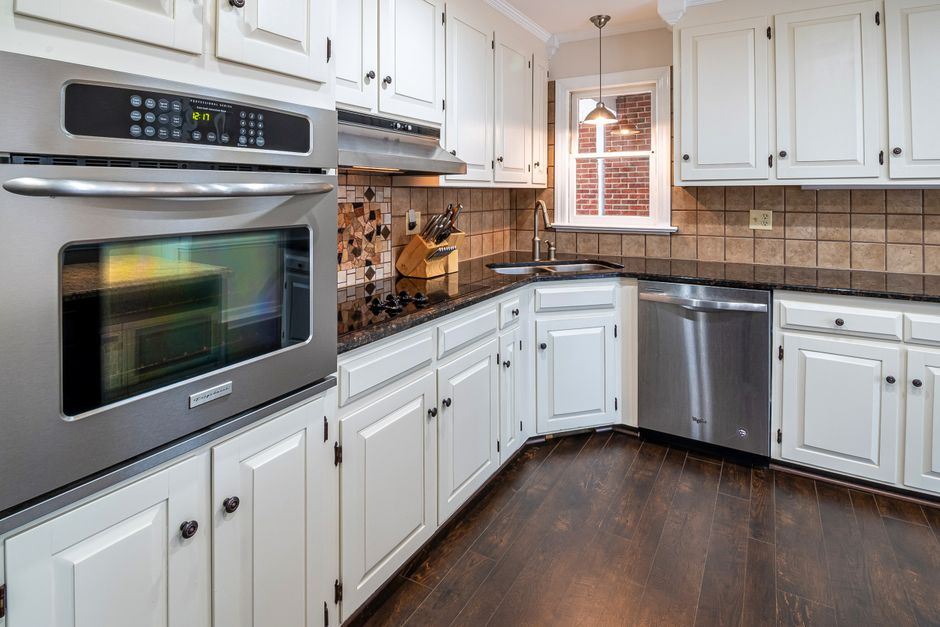
Refinishing kitchen cabinets sounds like a small job until the first door comes off its hinges and you see how many separate surfaces are actually involved. The boxes stay put. The hardware comes off. Every door and drawer front becomes its own small project with its own prep work, its own coats, and its own cure time. That is why the work is best described in stages rather than as one simple step. Knowing those stages helps you compare quotes, spot shortcuts, and understand what a finished kitchen should look like when the last door goes back on.
What Refinishing Actually Means
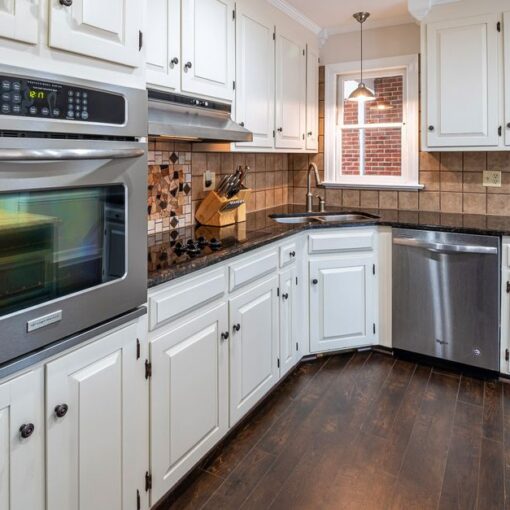
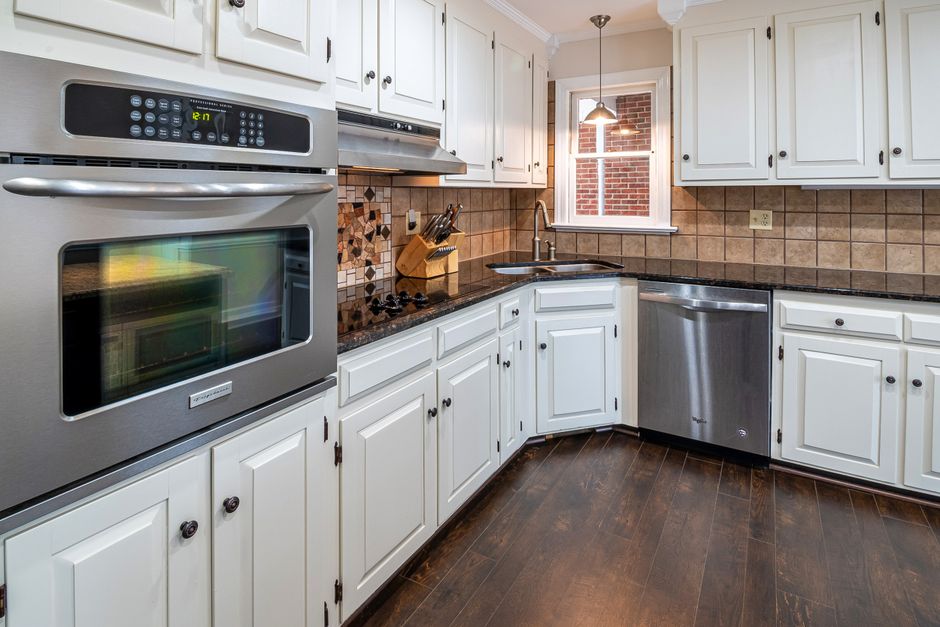
Kitchen cabinet refinishing means you keep all components of your existing cabinetry and simply change the color or the finish. That definition is the clearest way to separate refinishing from refacing and from outright replacement. Nothing is torn out. The cabinet boxes, the face frames, the drawer boxes, and usually the existing hardware all stay. Only the visible surface changes.
There is a second way the same word gets used. Refinishing also describes restoring the natural wood surface using stains and clear coats, a process best suited to cabinets where the grain is worth showing off. Same cabinets, same doors, but a different goal. One path changes the look with an opaque color. The other brings tired wood back to life while keeping the grain visible.
Why Refinishing Usually Beats Replacing
Cabinet refacing refreshes your kitchen in a matter of days with little to no mess, and refinishing follows the same logic. The layout you already like stays exactly where it is, which means no demolition, no temporary kitchen setup, and no waiting weeks for new boxes to be built and installed. If your cabinets are solid and the doors still close square, the money goes into surface preparation and a durable topcoat instead of into structure you already own.
The trade-off is honesty about condition. Refinishing cannot fix a swollen cabinet box, a sagging frame, or water damage that has softened the wood. Those problems come first, and a good estimate should say so before any door is removed.
The Refinishing Process, Door by Door
Assessing the Boxes Before Anything Comes Off
Inspection happens first. Doors swing open, drawers pull out, and the boxes get checked for soft spots, cracks, failed joints, and previous repairs. Hinges are tested. Water damage near a sink or dishwasher gets flagged, because that area takes the most abuse and hides the most trouble. If a box is failing, no finish will hide it. The purpose of this pass is to confirm the substrate can carry a new finish and to decide what repair work belongs in the scope.
Removing, Labeling, and Staging Doors and Drawer Fronts
Every door and drawer front comes off. Hinges and hardware are bagged and labeled, and each front is marked so it returns to the opening it came from. Cabinet fronts are rarely interchangeable in practice. A drawer front that fits one drawer box may not fit the one next to it, and a door hung on the wrong opening will show a gap that no adjustment hides. Labeling is unglamorous work that prevents visible mistakes later. Once removed, the fronts are staged flat so they can be finished without the coating running or sagging.
Cleaning and Degreasing Before Any Sanding
Kitchen cabinets carry a layer of cooking grease that is invisible until you run a cloth across it. That film has to come off completely before any abrasive touches the surface, because sanding grease into the wood buries it under the new finish and weakens the bond. Corners, edges, and the areas around handles need extra attention. This step is one of the most common places a rushed job goes wrong, and it is one of the hardest to spot until the finish starts peeling months later.
Sanding for a Mechanical Bond
Sanding does two jobs. It dulls the existing finish so the new coating has something to grip, and it smooths defects that would telegraph through a fresh coat. Fine-grit sanding blocks or pads work best for most cabinet and drawer fronts because they follow the profile of raised panels and edges without gouging them. Between finish coats, finer abrasives take over. Sanding with 500 to 600 grit smooths the surface after it dries, a second coat follows, and a final pass with 900 to 1000 grit refines the feel of the finished surface.
Priming With the Right Primer for the Substrate
Primer choice depends on what is already on the cabinet. On unstained wood, a high-quality latex primer or an oil-based primer works. On stained or previously painted wood, a stain-blocking primer is the correct call, because it keeps tannins and old color from bleeding through the new finish. Oil-based primers are thick and build a sealing layer quickly, which is useful on porous or uneven surfaces. Spraying the wrong primer over the wrong substrate is a reliable way to get a finish that discolors or fails to adhere.
Choosing a Topcoat That Can Handle Daily Use
Urethane trim enamel is the best choice for most durable results on kitchen cabinetry, and hybrid acrylic-alkyd products are another solid option. Cabinets take hand oils, steam, splashes, and repeated wiping in a way that walls and trim never do. A finish formulated for trim and doors will hold up far better than a standard wall paint. Product choice also affects how the finish sprays, levels, and dries, which is why the topcoat decision belongs near the start of planning rather than at the end.
Building Coats and Sanding Between Them
Finished cabinets are built in thin layers, not poured on in one heavy pass. Multiple coats allow the surface to level evenly and reduce the risk of drips, sags, and thin spots that wear through early. Sanding between coats removes dust nibs and small imperfections, so each layer goes down on a clean surface. This is also where environment matters. A controlled, dust-free space keeps airborne particles out of the wet finish, which is why spraying beats brushing for a factory-style look.
Reassembly, Alignment, and Cure Time
Doors go back on their original hinges and get adjusted so reveals are even and gaps are consistent. Drawer fronts are realigned. Hardware is reinstalled or replaced. Then comes the part most people underestimate: cure time. A finish that feels dry is not yet fully hard, and it continues to harden after installation. Follow the product manufacturer’s guidance on when to use the cabinets normally and which cleaners to avoid early on, and verify those recommendations against the current product data sheet.
Doors, Drawers, and Boxes Are Three Different Jobs
The reason cabinet work takes longer than painting a wall is that the same finish has to be applied to parts that are handled completely differently.
| Component | What Gets Done | Why It Matters |
|---|---|---|
| Cabinet doors | Removed, cleaned, sanded, primed, and finished flat on racks | Finishing flat lets the coating level evenly without runs |
| Drawer fronts | Removed and given the same treatment, labeled to their drawer box | Fronts vary in size, so mix-ups show up at reinstallation |
| Boxes and face frames | Masked, cleaned, sanded, primed, and finished in place | Fixed surfaces need a different technique than removable parts |
| Hinges and hardware | Removed, bagged, cleaned, and reinstalled or replaced | Alignment depends on consistent labeling from day one |
What Separates a Finish That Lasts From One That Fails
Most cabinet finish failures trace back to preparation rather than to the color chosen. Skipped degreasing, the wrong primer for a stained substrate, too few coats, and sanding that stops too early all shorten the life of a finish. So does the environment. Painting in a garage with dust in the air, or in a space with wild temperature swings, leaves flaws embedded in the coating that no amount of buffing removes.
Durability also depends on handling during the first weeks. Cabinets that go back into service before the finish has cured can pick up fingerprints, scuffs, and pressure marks that set into the surface. Ask how long the finish needs before normal use, and plan around that window rather than testing it.
What a Professional Refinishing Job Looks Like in Practice
PaintingCabinet.com handles cabinet painting and refinishing for homeowners in Parker, Highlands Ranch, Castle Rock, Castle Pines, and Roxborough, Colorado. The work is factory-finish cabinet painting, refinishing, and color changes, with no replacing and no demolition. The process is dustless and done in 5 days, backed by more than 1,000 kitchens completed, a 3-year warranty, and over 50 years of trust and experience serving these areas.
Estimates are free, and consultations can be handled virtually or in person. Call 303-573-6666 to talk through your cabinets, or request a quote through the site form, which sends directly to factoryfinishcabinet@gmail.com. Bringing photos of your doors, drawer fronts, and the boxes around the sink helps the estimate reflect what the finish actually has to cover.
Frequently Asked Questions
Is refinishing kitchen cabinets worth it?
For solid, well-built cabinetry, yes. Refinishing keeps all components of your existing cabinets and simply changes the color or the finish, so your budget goes into preparation and a durable topcoat instead of new boxes, demolition, and installation. If the boxes are swollen, sagging, or water damaged, those problems should be repaired or the cabinets replaced instead.
How long does refinishing take?
Cabinet work of this kind refreshes a kitchen in a matter of days with little to no mess. PaintingCabinet.com completes its dustless process in 5 days. Real timing depends on how many doors and drawers you have, the profile of the doors, how much repair is needed, and how long the finish must cure before the cabinets return to normal use.
Can refinishing change the color, or does it only restore wood?
Both are possible, and the word covers both ideas. Refinishing can mean keeping your existing cabinetry and changing the color or finish with an opaque coating. It also describes restoring the natural wood surface using stains and clear coats, which suits cabinets where the grain is worth keeping visible. The right choice depends on your door style and the look you want.
Do the doors have to be removed?
For a factory-style result, yes. Doors and drawer fronts are removed and finished flat so the coating levels evenly and avoids drips and lap marks. Boxes and face frames are then finished in place with careful masking and edge work. Removing the fronts is also what allows proper sanding and cleaning around raised panel profiles and edges.
What should I ask a refinishing company before hiring?
Ask how they degrease and sand, which primer they use on stained versus unstained wood, which topcoat they specify, and how they control dust. Ask about cure time before normal use and what the warranty covers. Request the product names so you can check the manufacturer’s current data sheets, and confirm the estimate lists repair work separately from finishing.